Unity setup
Install the package, paste your key, click Build.
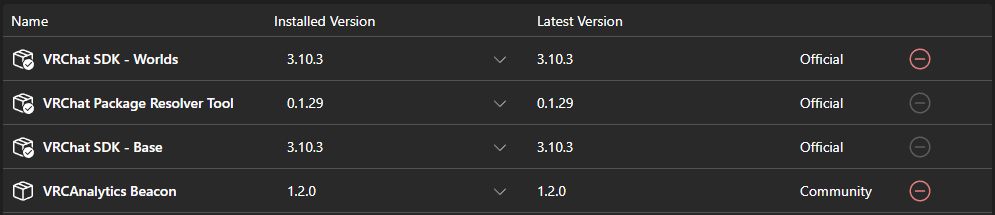
1. Install the package via VCC
The VRCAnalytics Beacon package installs via the VRChat Creator Companion, same as any other community UPM package. The fastest path: click the button below — VCC opens and prompts you to add our repository in one step.
https://vrcanalytics.com/vpm/index.jsonOnce the repo is added, open your world project in VCC, find VRCAnalytics Beacon in the package list and click +.
2. Enter your setup key
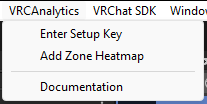
Once the package is installed, open your Unity scene and use the new top-bar menu:
VRCAnalytics → Enter Setup Key
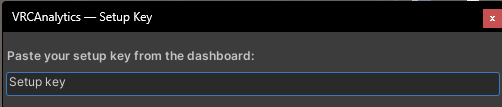
Paste the setup key from your dashboard. The default API URL should be left alone unless you're self-hosting or testing against a tunnel.
Where the key goes
EditorPrefs on your machine only. It's not written to the scene file, not committed if you use Git, and never embedded into the world you upload. Re-pasting is only needed on a new machine.3. Build & Publish
Open the VRChat SDK control panel and click Build & Publish as you normally would. Our build hook runs automatically just before the world is packaged:
- Reads your scene's VRChat world ID (from the PipelineManager)
- POSTs to
/v1/register-buildwith your key + the world ID to bind them - Bakes the beacon's URLs with only
?w=wrld_xxx— no setup key anywhere in the uploaded world
![Unity console showing [VRCAnalytics] Build registered and Baked keyless URLs log lines](/docs/VCC_3.png)
First-time upload caveat
For a brand-new world that VRChat hasn't assigned a blueprint ID to yet, the first upload may run without binding. Just rebuild and re-upload once VRChat has issued thewrld_xxx and the binding sticks.
4. Enable "Allow Untrusted URLs"
The beacon sends HTTP requests to api.vrcanalytics.com. VRChat players need to have Allow Untrusted URLs enabled in their VRChat client settings for those requests to go through. It's a per-player client setting, not something you configure in the world.
Players have to opt in